


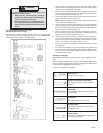
page 8
Fig. 14
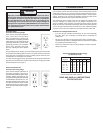
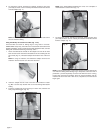
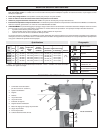
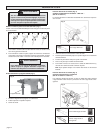
4. To change the core bit, hold the tool upwards, pointing it away from
your body as shown, and run it briefl y in forward to loosen the core bit
from the adapter (Fig. 15).
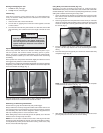
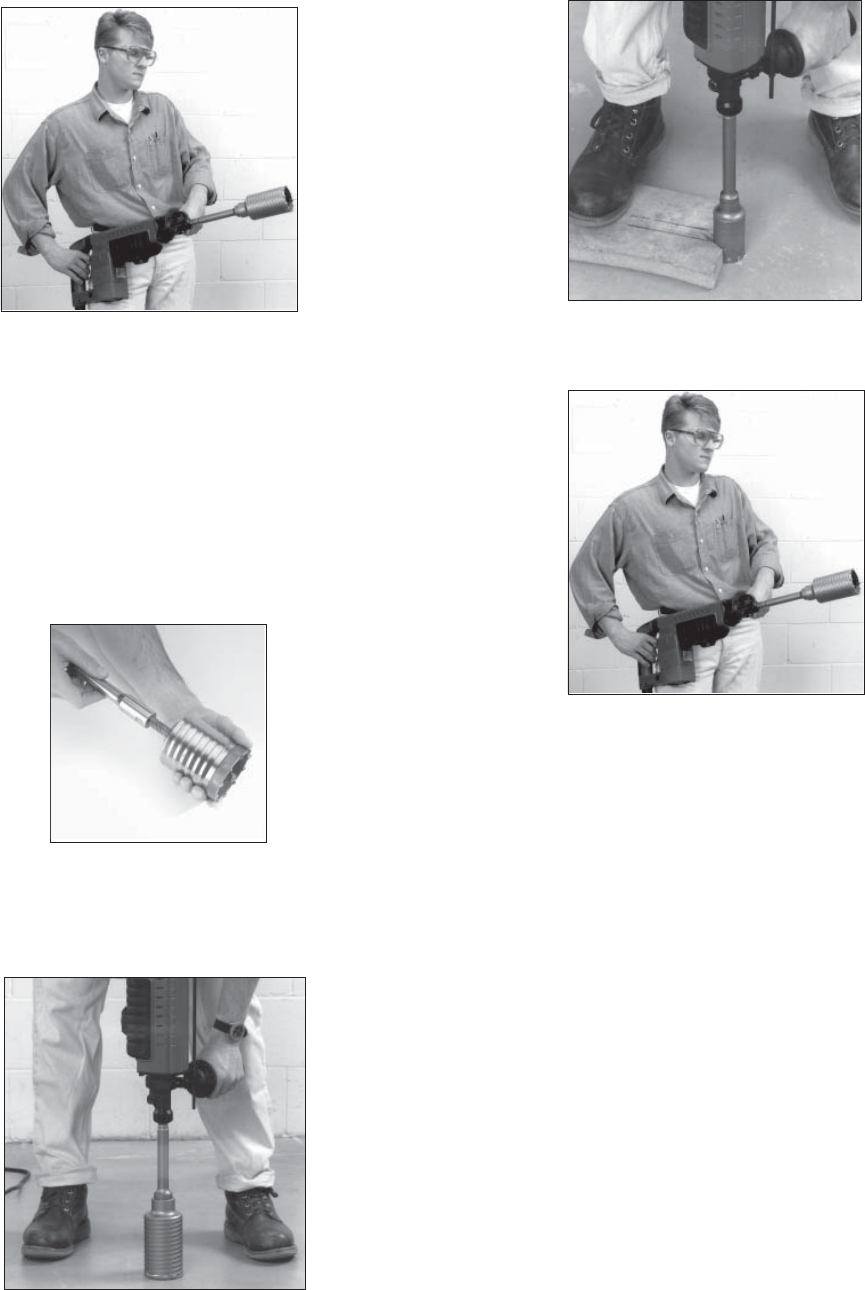
6. To change the core bit, hold the tool upwards, pointing it away from
your body as shown, and run it briefl y in forward to loosen the core bit
from the adapter (Fig. 11).
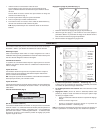
NOTE: If the 48-20-5099 threaded stud is used, use a template or
notched board to start the hole (Fig. 14).
Fig. 15
NOTE: To make deeper holes, remove the core bit, break and remove the
core. Resume drilling. When drilling long or deep holes, after each inch of
penetration pull the bit partially out of the hole while the tool is running,
to help clear dust from the bit fl utes. Dust can clog the bit fl utes and can
make the bit bind in the hole. If this occurs, stop the tool, free the bit and
begin again.
Fig. 11
NOTE: To make deeper holes, remove the core bit, break and remove
the core. Resume drilling.
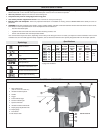
Using LHS Rotary Percussion Core Bits (Fig. 12-15)
LHS Core Bits are useful for drilling large or long holes in concrete.
MILWAUKEE Heavy-Duty Core Bits have heat-treated steel bodies with
durable carbide tips. These core bits are specially designed for fast, accurate
drilling with combined hammering and rotary action.
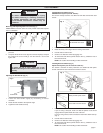
1. Clean and lubricate the threads on the adapter and core bit to make
later removal easier. Screw the threaded end of the centering bit into
the core bit (Fig. 12). Thread the adapter shank to the rear of the core
bit.
NOTE: If using an extension, fi rst thread the adapter shank to the
extension. Then thread the core bit to the extension.
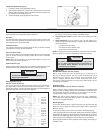
2. Insert the adapter into the nose of the tool as described in “Install-
ing Bits”. Set the stop rotation knob to the hammering-with-rotation
setting.
3. Press the centering bit fi rmly against your center mark, hold the tool
fi rmly and pull the trigger (Fig. 13).
Fig. 13
Fig. 12